Classifying bears as a desktop app
Aug 10, 2019 · 1936 words · 10 minute read
I recently finished fast.ai’s excellent deep learning for coders course. The models used by the course run on python and use their own fast.ai library, which under the covers makes use of pytorch, pandas and more. I wanted to try and package up a predictive model as a desktop app, my own local, offline teddy, grizzly and brown bear classifier.
Introduction
After poking around, I decided to go with a fast.ai + PyInstaller + Qt5 WebEngineView build. To say I ran into troubles would be an understatement, so much so that I’ve put what’s needed to run just a PyInstaller + Qt5 WebView build in a separate post. This post will focus on getting the machine learning bits working, starting from the working PySide2 WebEngine + PyInstaller sample at this repository
You can find the completed sample at https://github.com/tangm/pyinstaller-pyside2webview-fastai-sample, though I wouldn’t recommend using any of the generated executables in production. Just the windows distribution directory comes in at a whopping 1+ gb!
What you’ll need:
- Specialised knowledge of teddy bear classification
- Python 3 on Windows (do NOT install it from the app store)
- Virtualenv
- Some patience
Show me the code
Here are the relevant, machine learning choice bits:
# loads the model and creates a learner, assigning it to `learn`
def setup_learner():
    try:
        learn = load_learner(model_dir, export_file_name)
        return learn
    except RuntimeError as e:
        if len(e.args) > 0 and 'CPU-only machine' in e.args[0]:
            print(e)
            message = "\n\nThis model was trained with an old version of fastai and will not work in a CPU environment.\n\nPlease update the fastai library in your training environment and export your model again.\n\nSee instructions for 'Returning to work' at https://course.fast.ai."
            raise RuntimeError(message)
        else:
            raise
...

    @Slot(str, result=str)
    def classify(self, something):
        img_bytes = bytes(map(ord, something))

		# Do the actual prediction
        img = open_image(BytesIO(img_bytes))
        prediction = self.learn.predict(img)[0]
        return str(prediction)
It’s been largely adapted from the render example for fast-ai, but we’re communicating over a QWebChannel using a slot. You can see the full file here.
On the HTML view (see the full file here), the registered objects are made available from the JS QWebChannel, from which the exposed python object is referenced.
      // Obtain the exposed python object interface
      const getBackend = new Promise((resolve, reject) => {
        new QWebChannel(qt.webChannelTransport,
          (channel) => resolve(channel.objects.backend));
      })

      ...
            // Call the interface when asked to do a prediction
      classify.addEventListener('click', function(){
        const f = fileInput.files[0];
        if (!f) {
          return;
        }

        const reader = new FileReader();
        reader.onloadend = function(evt) {
          if (evt.target.readyState == FileReader.DONE) {
            getBackend.then((backend) => {
              backend.classify(evt.target.result, (prediction) => {
                predictionResult.textContent = `It's a ${prediction}!`;
              });
            })
          }
        };
        reader.readAsBinaryString(f);
      });
When a bear image is chosen, its contents are read as a binary string and sent as a param to the exposed classify method on the python backend.
It wasn’t so clear what form a binary string sent this way would be received on the python end, the documentation for QWebChannel just states that it is JSON serialized. I found it was received as a unicode string, which needed some… massaging (hence the bytes(map(ord, something)) shennanigan). If you’re sending typical JSON payloads you should be just fine…
And we should be able to fire it up by just doing a python main.py.
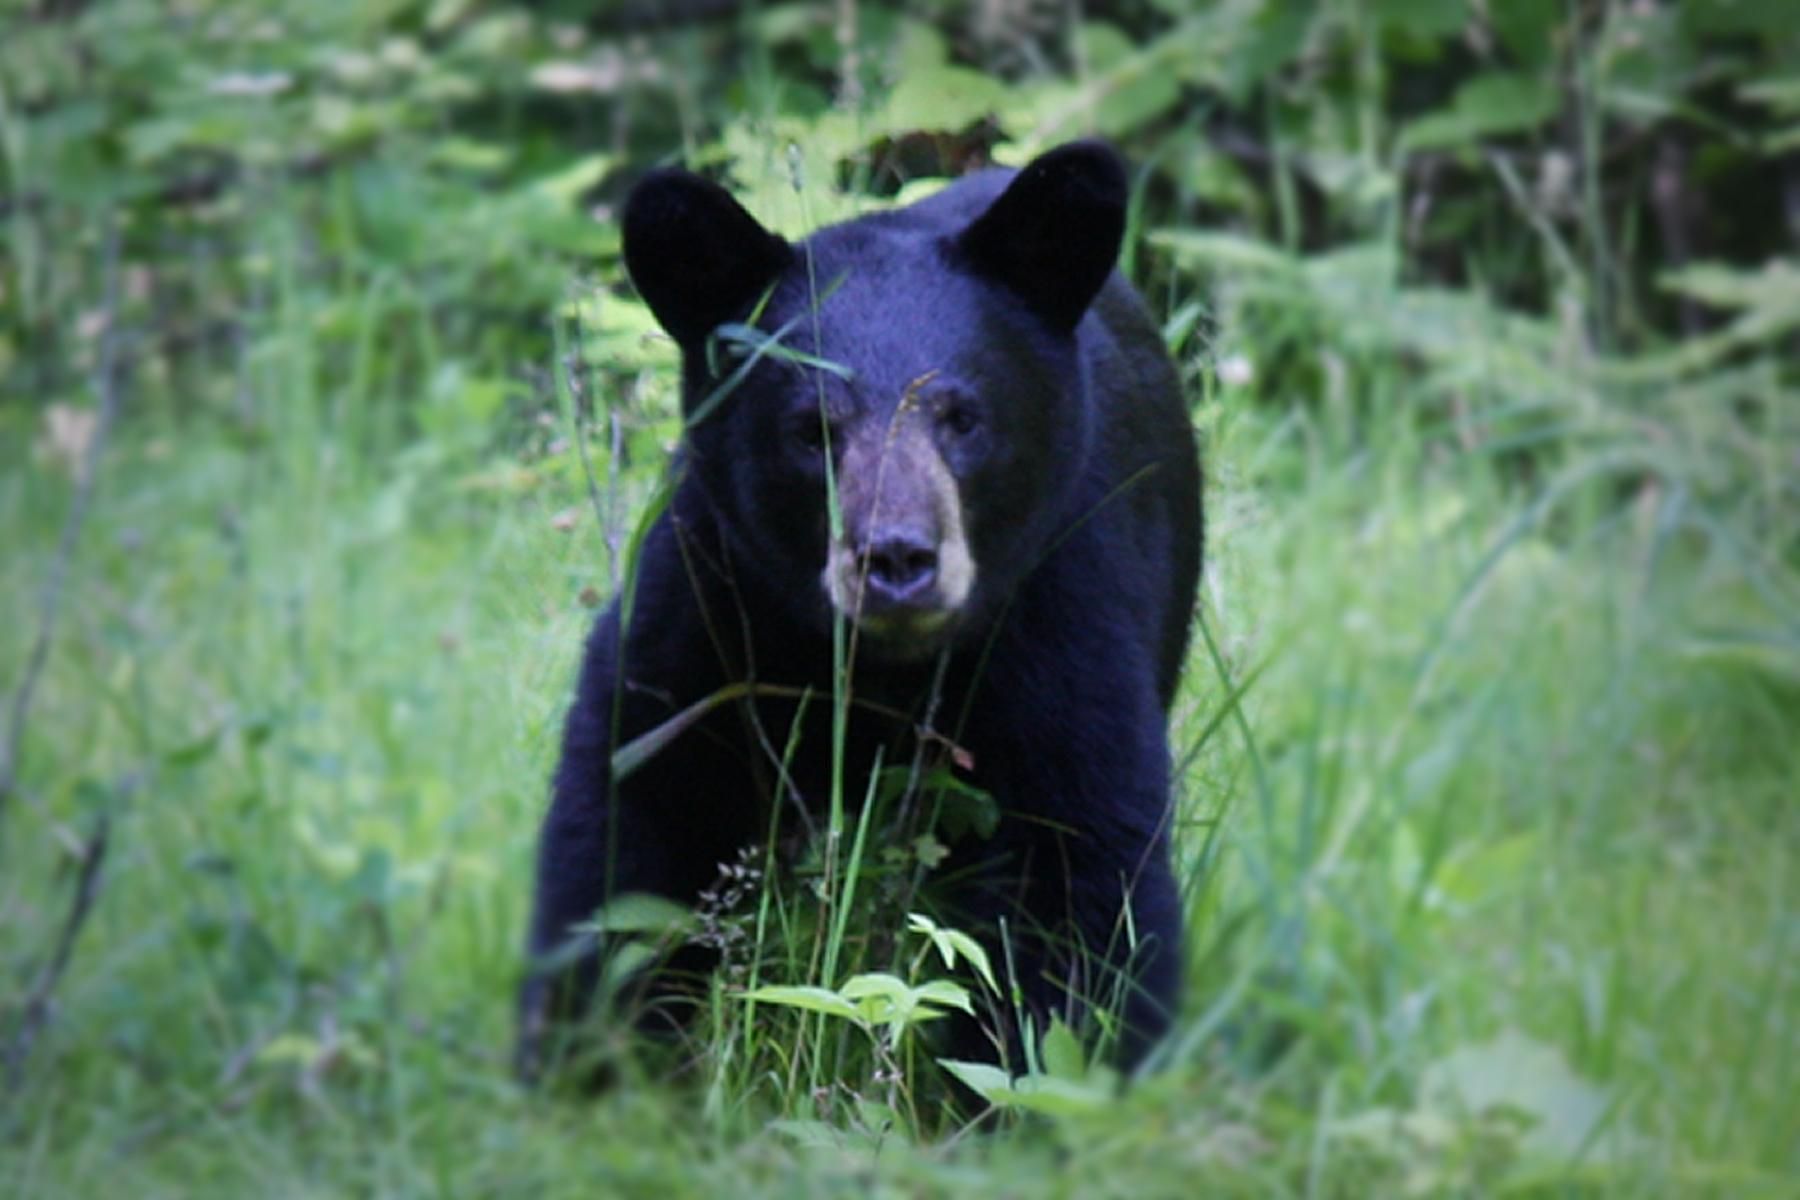
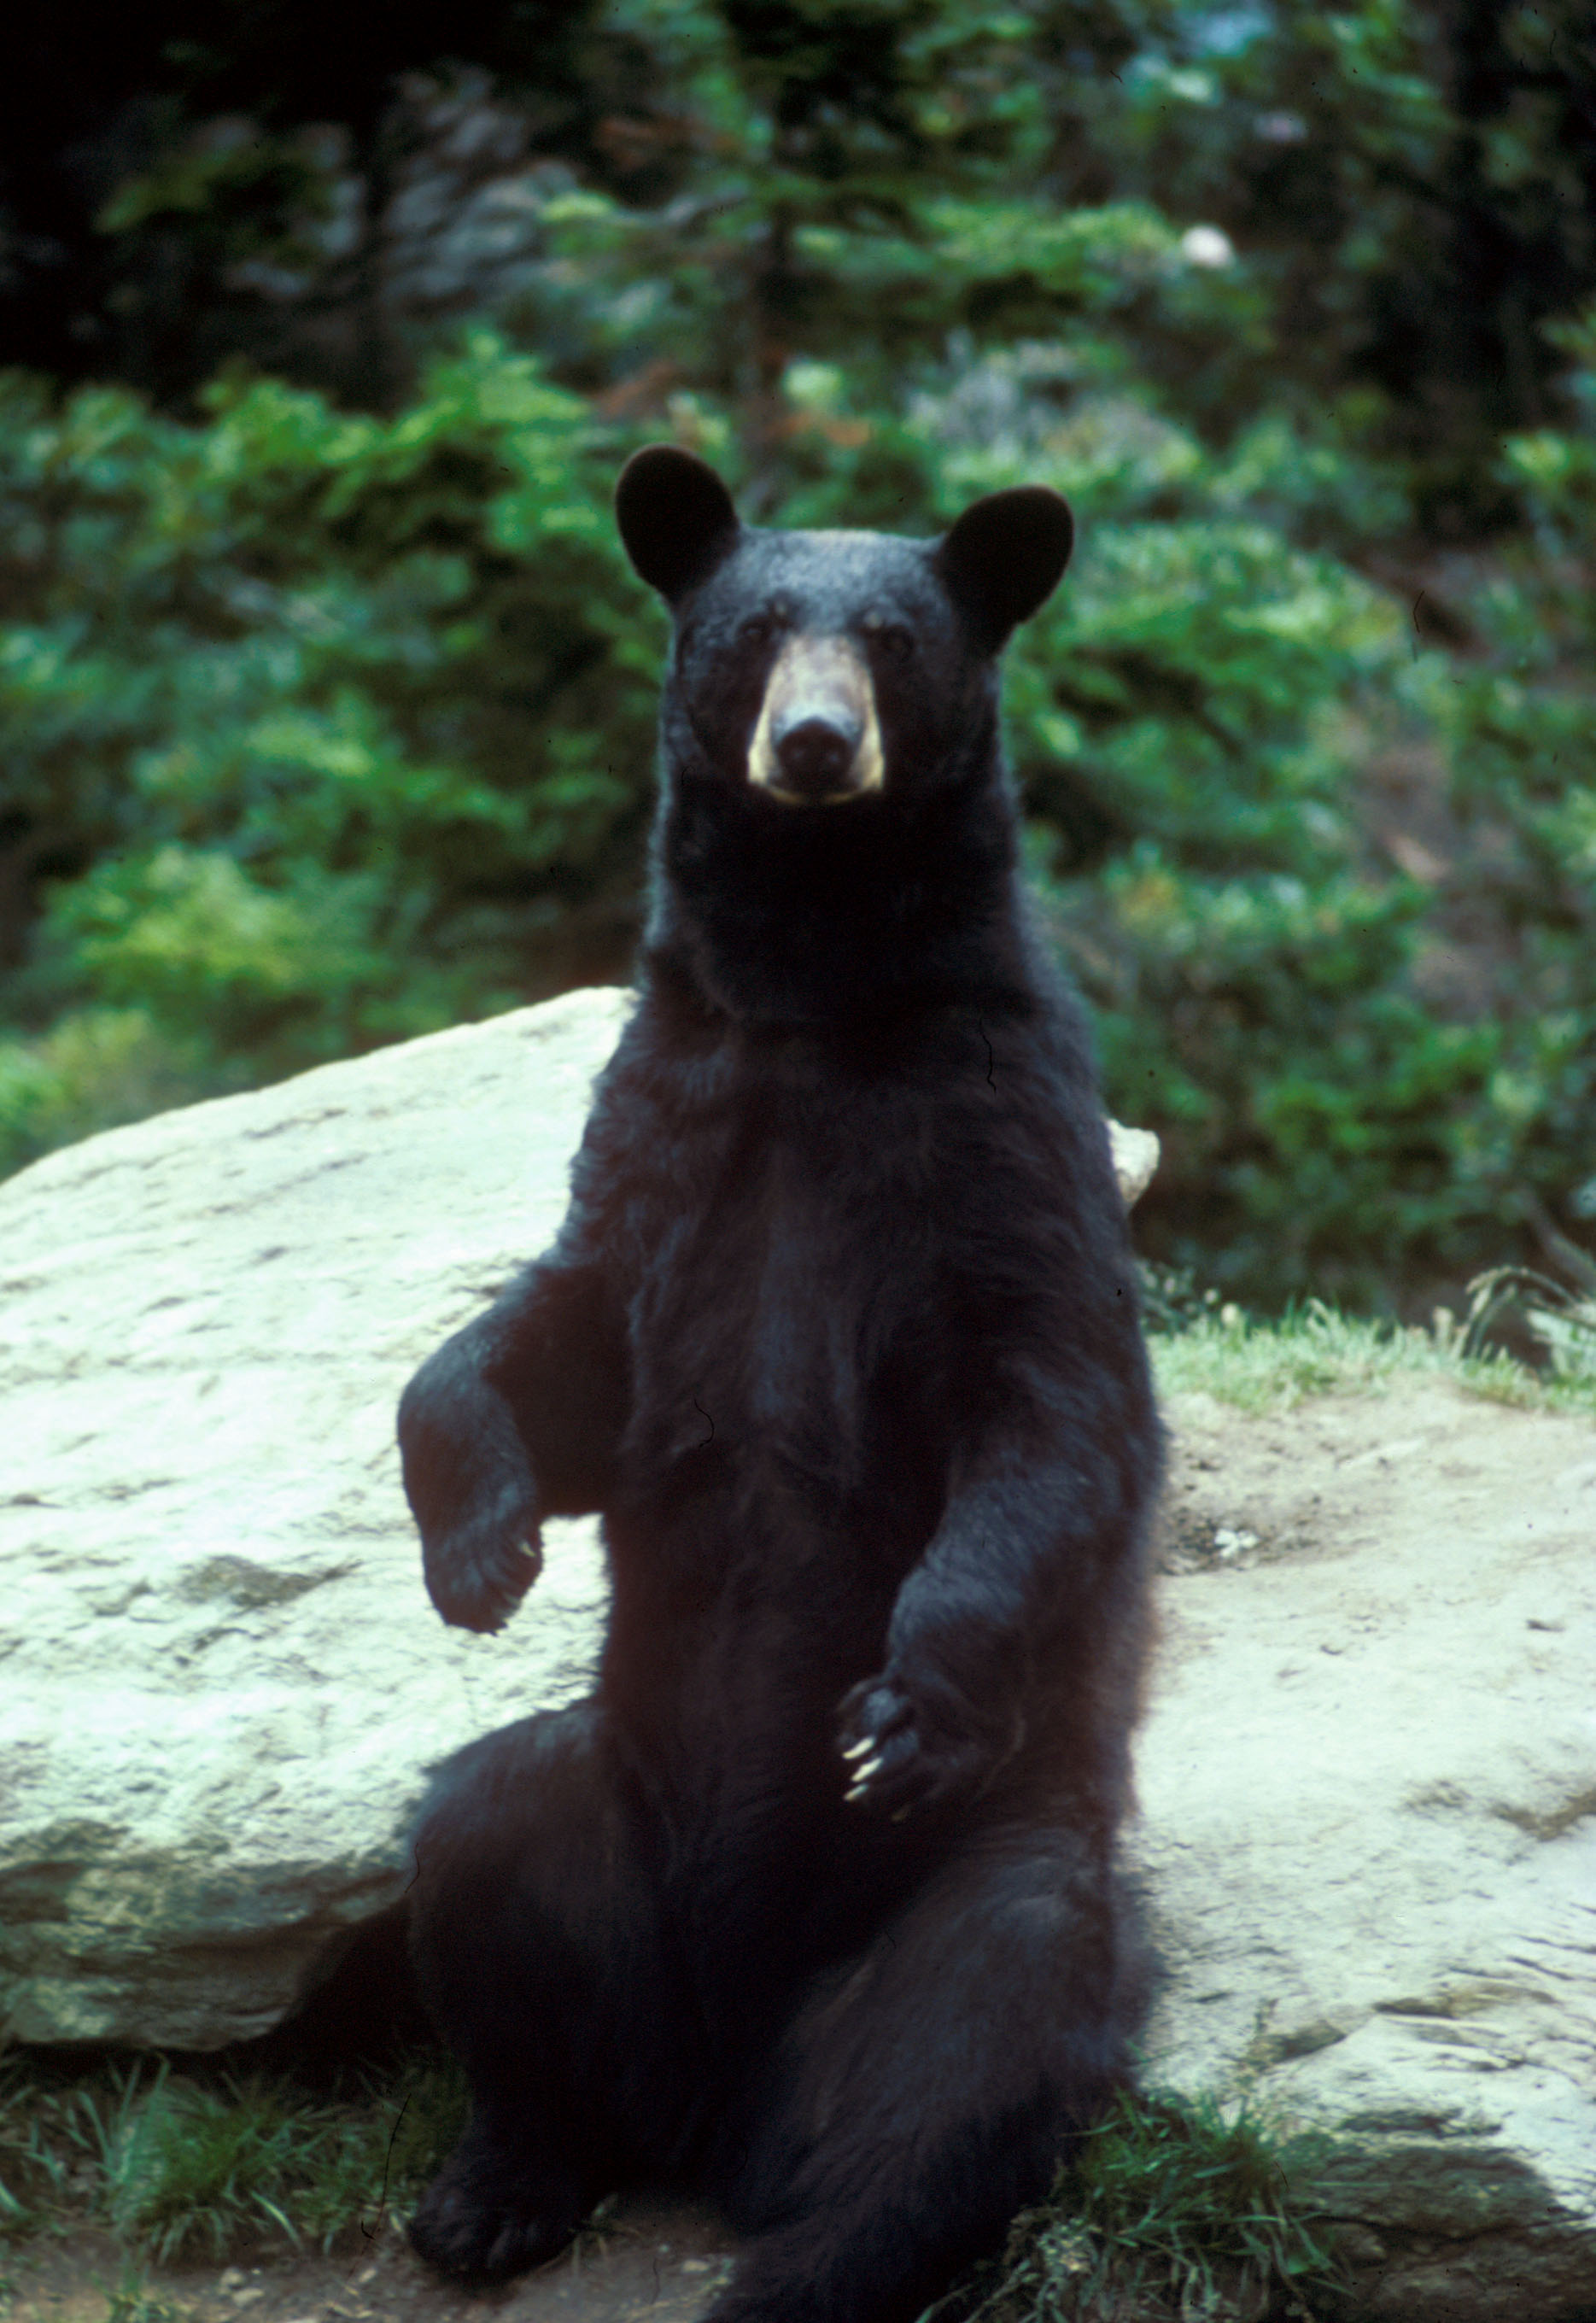
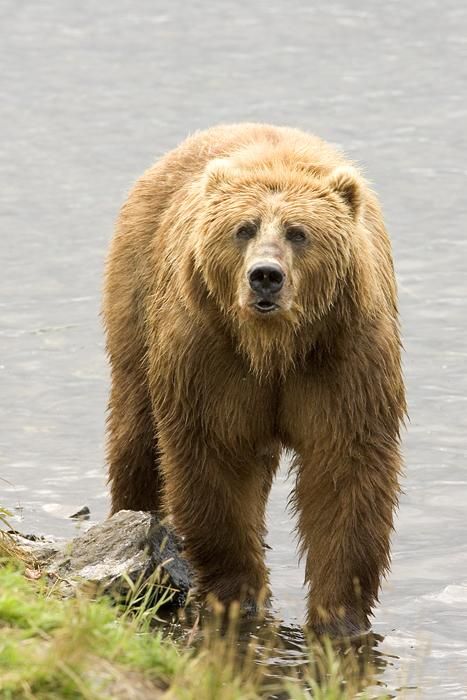
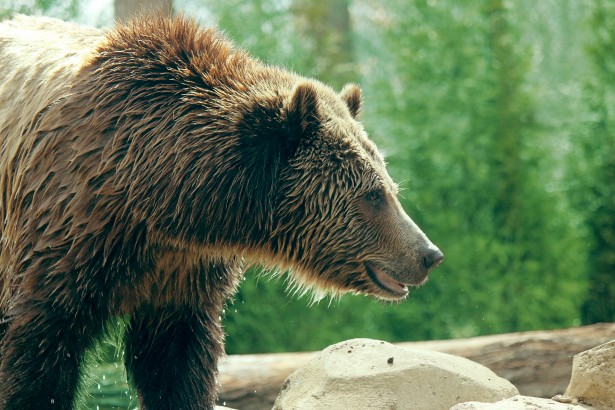
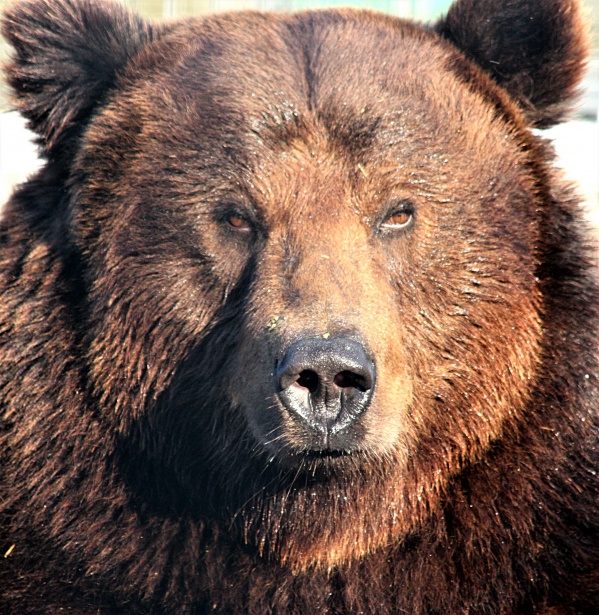
Here’s some images for you to try

Thing of beauty. Up to this point, it’s been pretty straightforward. If users of this app are savvy enough to do a pip install -r requirements.txt themselves we’re home free.
But we want more, we want to distribute it! If you’d like to follow along at this point and run into the problems and experiment, you can try doing so from the before-pyinstaller-fixes tag.
PyInstaller was already installed as part of the requirements list, so…
Packaging it up, a.k.a problems you will run into
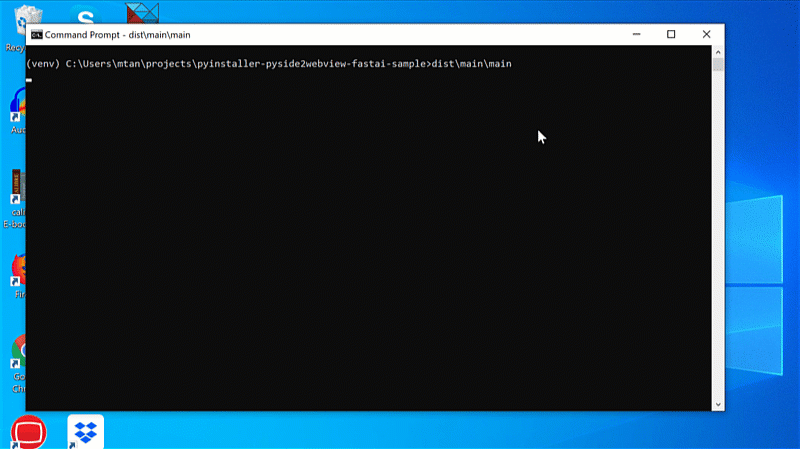
pyinstaller main.spec will build an executable and all its required files in a dist subfolder. And finally, drumroll please,
dist\main\main
Voila, an executable desktop app for teddy bear classification.
Let the troubles begin
ModuleNotFoundError: No module named ‘distutils’
  File "site-packages\matplotlib\__init__.py", line 121, in <module>
ModuleNotFoundError: No module named 'distutils'
[5936] Failed to execute script main
This is caused by #40964. PyInstaller, when analysing the source files, detects that distutils is required because of the following line in matplotlib:
from distutils.version import LooseVersion
However, if we look at the provided hook for distutils in the PyInstaller package:
"""
When run from within a venv (virtual environment), this hook changes the
`__path__` of the `distutils` package to that of the system-wide rather than
venv-specific `distutils` package. While the former is suitable for freezing,
the latter is intended for use _only_ from within venvs.
"""

distutils_dir = getattr(distutils, 'distutils_path', None)
    if distutils_dir is not None:
        # Find this package in its parent directory.
        api.search_dirs = [os.path.dirname(distutils_dir)]
        logger.info('distutils: retargeting to non-venv dir %r' % distutils_dir)
It relies on the presence of a distutils_path to figure out where the system-wide distutils is located. Unfortunately, this is actually an implementation detail of virtualenv, i.e. distutils_path is not part of any public api. Consequently, since v16.3 of virtualenv, the behaviour of distutils_path has changed such that it may return a file path (to distutils’ __init__.py) as opposed to the path to distutils, so the os.path.dirname returns the wrong thing (See this line and this pull request for details).
While the real fix for this should probably be to have the hook do its own detection rather than relying on an implementation details (something like the approach taken by virtualenv), the quick fix would be to add something like:
import distutils
if (getattr(distutils, 'distutils_path', None) != None) and distutils.distutils_path.endswith('__init__.py'):
    distutils.distutils_path = os.path.dirname(distutils.distutils_path)
at the top of main.spec, as suggested by this comment. There isn’t a sanctioned way to override pre-find-module-path hooks in PyInstaller or at least none that I could find.
With that out of the way, and fingers crossed we don’t get bitten tampering with the internal usage of distutils_path, let’s run pyinstaller main.spec again. This time we get…
ModuleNotFoundError: No module named ’numpy.random.common’ .
03_importers.py", line 621, in exec_module
    exec(bytecode, module.__dict__)
  File "site-packages\numpy\random\__init__.py", line 180, in <module>
  File "mtrand.pyx", line 1, in init numpy.random.mtrand
ModuleNotFoundError: No module named 'numpy.random.common'
[13284] Failed to execute script main
The dependency on the numpy.random.common is coming from a compiled C module, something which PyInstaller was probably unable to pick up when trying to figure out dependencies to include in its distribution folder. We need to tell it about these hidden imports, via the hiddenimports param in the main.spec.
I’ll save you the trouble of repeating the process, numpy has a number of C modules so you’ll find that the numpy.random.common, numpy.random.bounded_integers and numpy.random.entropy dependent modules need to be specified. This brings us to:
@@ -7,7 +12,7 @@ a = Analysis(['main.py'],
              pathex=['C:\\Users\\mtan\\projects\\pyinstaller-pyside2webview-sample'],
              binaries=[],
              datas=[('data', 'data')],
-             hiddenimports=['PySide2.QtPrintSupport'],
+             hiddenimports=['PySide2.QtPrintSupport', 'numpy.random.common', 'numpy.random.bounded_integers', 'numpy.random.entropy'],
              hookspath=['hooks'],
              runtime_hooks=[],
              excludes=[],
Doing the usual pyinstaller + dist\main\main dance, we now run into a more fast.ai specific issue:
pkg_resources.DistributionNotFound: The ‘fastprogress>=0.1.19’ distribution was not found and is required by the application
  File "site-packages\fastai\imports\core.py", line 29, in <module>
  File "site-packages\pkg_resources\__init__.py", line 900, in require
  File "site-packages\pkg_resources\__init__.py", line 786, in resolve
pkg_resources.DistributionNotFound: The 'fastprogress>=0.1.19' distribution was not found and is required by the application
At first glance it looks like a hidden import, after all, inspecting the fastai code shows:
import pkg_resources
pkg_resources.require("fastprogress>=0.1.19")
so it’s not an easily recognised dependency. If we add fastprogress to the hiddenimports like before though, it still doesn’t work. What does pkg_resources.require actually do?
The
pkg_resourcesmodule distributed with setuptools provides an API for Python libraries to access their resource files, and for extensible applications and frameworks to automatically discover plugins.
It turns out that this mechanism relies on some package metadata being made available, but is not copied by default by PyInstaller (see the copy_metadata section). We need to create a hook for fastprogress to instruct PyInstaller to copy the metadata required by pkg_resources.
from PyInstaller.utils.hooks import copy_metadata

datas = copy_metadata('fastprogress')
along with the hiddenimport
              datas=[('data', 'data')],
-             hiddenimports=['PySide2.QtPrintSupport', 'numpy.random.common', 'numpy.random.bounded_integers', 'numpy.random.entropy'],
+             hiddenimports=['PySide2.QtPrintSupport', 'numpy.random.common', 'numpy.random.bounded_integers', 'numpy.random.entropy', 'fastprogress'],
              hookspath=['hooks'],
We’re almost at the grand finale, with one last hurdle. After going through the usual gauntlet of rerunning pyinstaller, we now get…
Bonus error: Some strange ufunc missing DLL error
I didn’t copy the actual error message, but if you get some error about ufunc in numpy/scipy, check that you are NOT using a version of Python 3 installed from the Microsoft App Store. It’s somewhat obscure but as best as I can tell it’s due to this issue. Use the official python installer instead.
OSError: could not get source code
  File "c:\users\mtan\projects\pyinstaller-pyside2webview-fastai-sample\venv\lib\site-packages\PyInstaller\loader\pyimod03_importers.py", line 621, in exec_module
    exec(bytecode, module.__dict__)
  File "site-packages\torchvision\ops\misc.py", line 135, in <module>
  File "site-packages\torchvision\ops\misc.py", line 148, in FrozenBatchNorm2d
  File "site-packages\torch\jit\__init__.py", line 850, in script_method
  File "site-packages\torch\jit\frontend.py", line 152, in get_jit_def
  File "inspect.py", line 973, in getsource
  File "inspect.py", line 955, in getsourcelines
  File "inspect.py", line 786, in findsource
OSError: could not get source code
This is coming from the PyTorch JIT compiler, which while doing some pretty cool stuff, requires source access via the inspect python module’s #getsourcelines to the sources of the methods and classes marked as script_method/script.
While there does seem to be an option to disable Pytorch JIT (setting PYTORCH_JIT=0), there is unfortunately a bug in 1.1.0 of the library, the latest cross-platform version available as of this writing. Copying the source code to the distribution folder in a hook didn’t seem to help either.
With the wonders of python though, we can absolutely monkey patch this, adding something like:
def script_method(fn, _rcb=None):
    return fn
def script(obj, optimize=True, _frames_up=0, _rcb=None):
    return obj
import torch.jit
torch.jit.script_method = script_method
torch.jit.script = script
from fastai.vision import *
just before we import fastai.vision.
It will now work on windows, but if you try and run it on a mac you will find a new, strange error:
FileNotFoundError: Tcl data directory “…” not found
One of the transitive dependencies of fast.ai depends on the tkinter python interface to the Tcl/Tk GUI framework (I suspect matplotlib or something similar), which has been bundled in more recent versions of python installations. However, the hook that handles support files for tkinter does not take these bundled versions into account. The real MVP here is this comment.
So you can choose to copy the hook verbatim, modifying the suggested lines:
#change line 183 (was line 188 on my instal;ation)
if 'Library/Frameworks' in path_to_tcl:
#by adding a condition:
if 'Library/Frameworks' in path_to_tcl and 'Python' not in path_to_tcl:
or edit the hook in your venv distribution at something like venv/lib/pythonX.Y/site-packages/PyInstaller/hooks/hook-_tkinter.py.
With that, drumroll please, as we run pyinstaller main.spec, and dist\main\main….
Voila, a fast.ai + PyInstaller + Qt5 desktop app that runs on mac, windows and linux.
Conclusion
I’ve got the same rant from the previous post, same disclaimer, I’ve not used python or Qt for that matter in anger, so any clarification is welcome!
To be honest I’m somewhat discouraged by the size of the distribution folder, even if it is a cross-platform solution. I can see why a webapp is the recommended deployment solution because the size is somewhat irrelevant. That said, I think there are use cases for a desktop application, so I might look at using say CEF or a non-WebEngineView Qt solution.
For bonus points, here are somethings you can do to make your web desktop app more spiffy.
- Add additional styles to make it look like an actual desktop app, like the last version
- Add an icon (used for the executable and taskbar)
- Use
hdiutilon a mac to create a dmg
Resources
- PyInstaller - https://pythonhosted.org/PyInstaller/
- PySide2 - https://wiki.qt.io/Qt_for_Python
- Completed sample - https://github.com/tangm/pyinstaller-pyside2webview-fastai-sample